Have you heard unpleasant sounds from your brakes? It is the brakes telling you that they are due for a replacement. Brakes have to be replaced to ensure safe stopping of the car. Disc brakes not only last longer, but also are far simpler to change compared to drum brakes.
Once you have diagnosed what needs to be changed on the disc brakes, all you need is 60 minutes of your time to change the brake pads and the rotor completely on your disc brake.
Here is our complete guide on replacing your disc brakes.
Things you will need –
- Jack stand
- Wheel spanner
- Mallet
- Wrench and screw driver set
- Gloves (optional)
- Owner’s manual
- C-clamp
- WD-40
- New rotor
- New brake pads
Step 1 – Let the car cool down
Car brakes heat up with use, with the brake pads becoming extremely hot. It is best to check them after they have cooled down. Give your car a break of an hour or so, before you check the brakes.
Step 2 – Raise the car
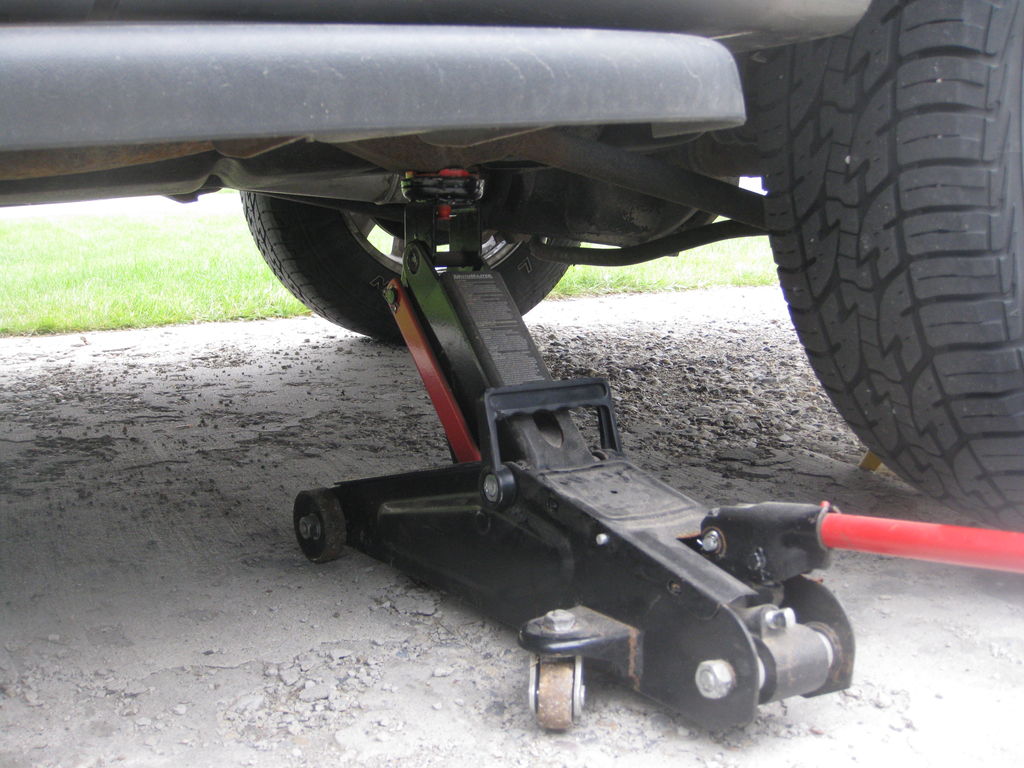
Using a jack stand, raise the car until the tyre is in the air completely and can be removed to access the brakes. Make sure you loosen the wheel nuts before you raise the car. When working on the front tyre brakes, make sure the handbrake has been engaged, while there are stones kept near other tyres to stop the car from rolling. Leave the key in the ignition and the gear in neutral, so that you can move the wheels freely when working.
Step 3 – Remove the tyre
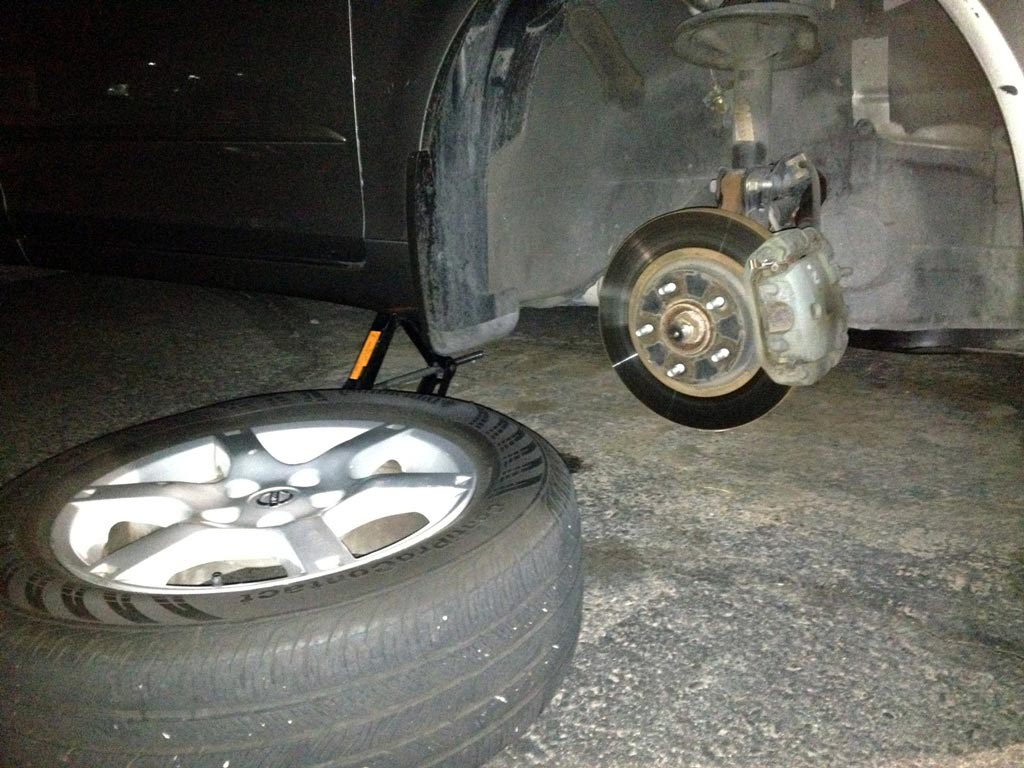
Once you have raised the car, using the wrench remove the wheel nuts and tyre. Make sure you remove the nuts diagonally and keep them safely with the tyres. Removing the tyre will expose you completely to the brakes and you can work on them freely.
Step 4 – Open the brake fluid reservoir cap
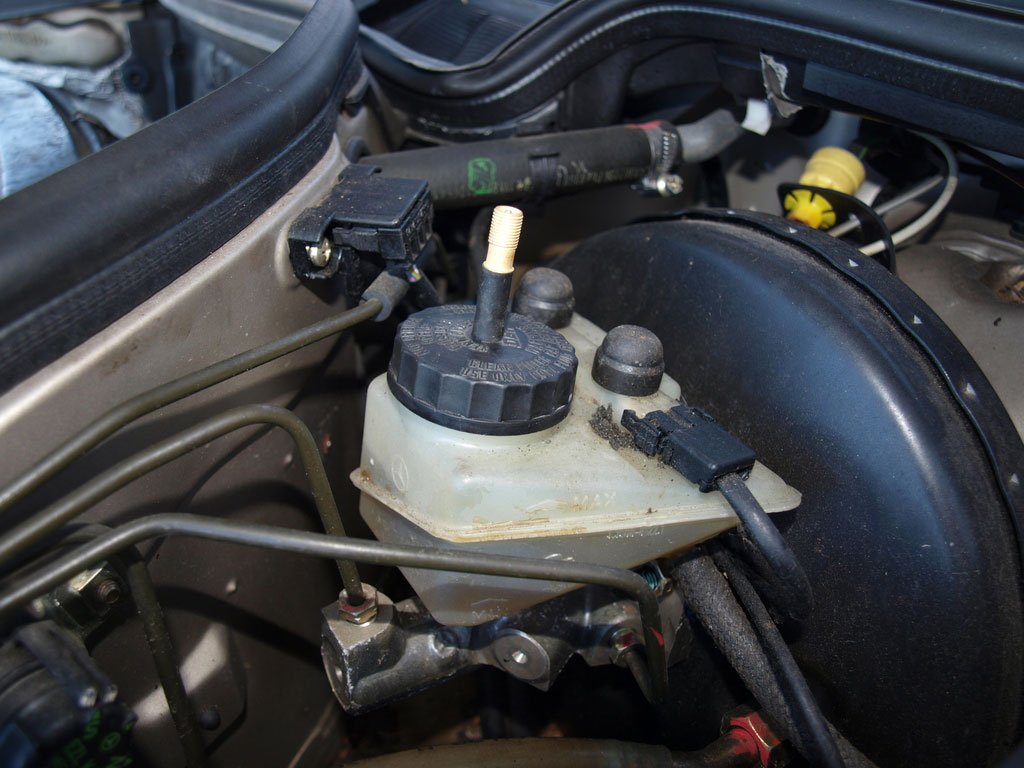
Open the brake reservoir cap before you start working on replacing the brake pads. The brake fluid reservoir is located under the bonnet near the engine. Refer to your car’s owner’s manual to know the exact location. Opening the cap will release the pressure when you pull the pistons back.
Step 5 – Remove the caliper
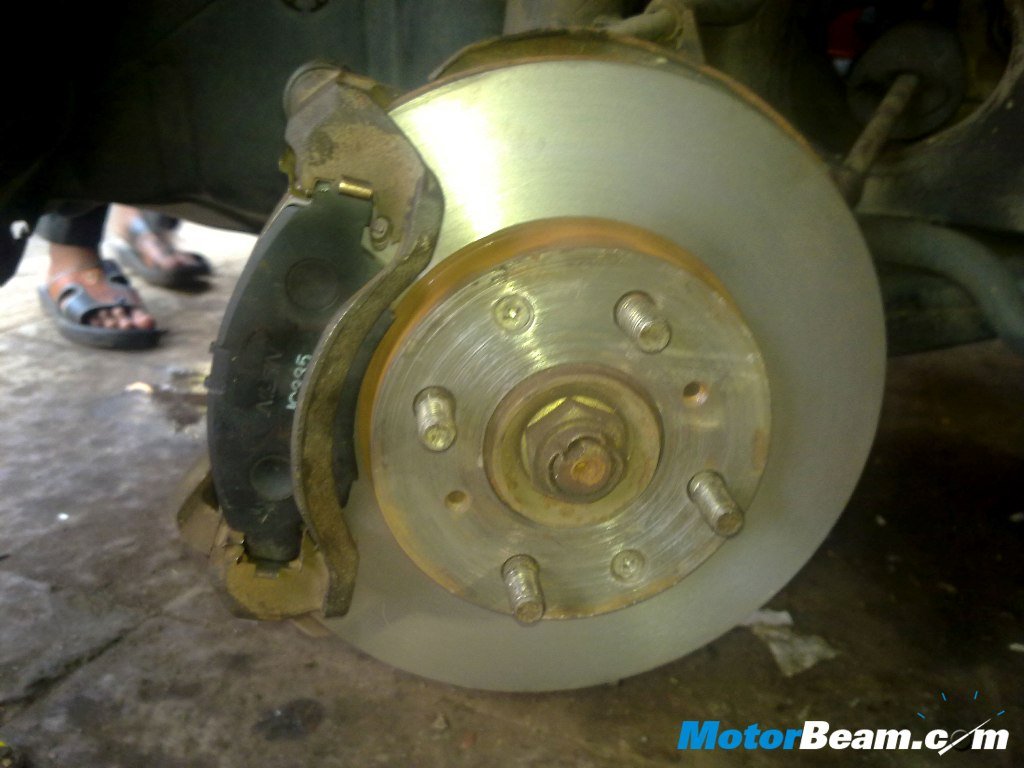
The brake caliper houses the brake pads against the rotor. You first need to remove the caliper to access the brake pads inside. The calipers are connected with a set of slider bolts located on the top and bottom of the caliper. Use a wrench to unscrew the slider bolts and remove the caliper. If the bolts are rusted or jammed, first spray them with WD-40 to loosen them. Make sure you remove the lower bolts first and then remove the upper bolt.
With the bolts removed, the caliper will be free and can be removed from the rotor. The caliper is also connected to the brake fluid via a hydraulic line. Do not disconnect that line. Keep the caliper safely on the back of the suspension, don’t leave it hanging.
Step 6 – Remove the brake pads
The caliper will have 2 pads inside namely the inner and the outer pad. The inner pad is the one that moves forward, while the outer pad remains stationary for stopping the vehicle.
Step 7 – Tighten the piston
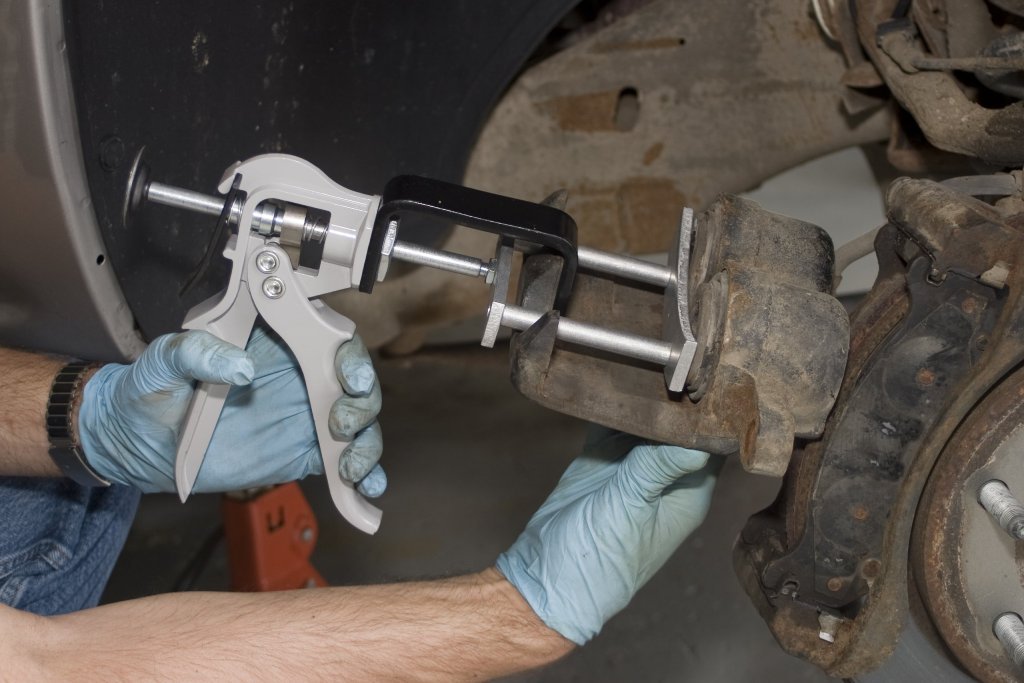
The piston applies pressure on the brake pads and presses the rotor to stop the car. Before putting in the new brake pad, you need to push the piston back so that the new larger brake pad can fall in place easily. This will take some effort though. You will have to use a C-clamp with a combination of an old brake pad and push the piston back as hard as possible. Doing so will also push back the brake fluid into the reservoir. You can also try pushing the piston back using a piece of wood (in place of the older brake pad) and muscle force if a C-clamp is not available. Make sure you do it with utmost patience and do not damage the piston in any way.
Step 8 – Remove the rotor
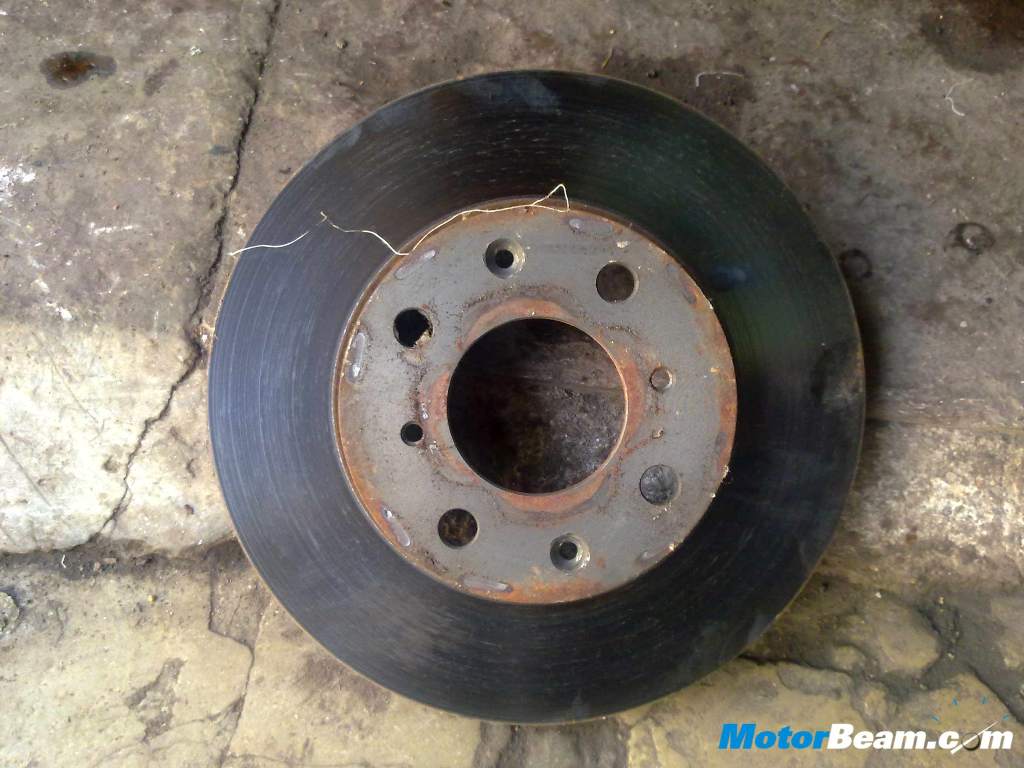
The rotor is located on the hub and the wheel studs; you will have to pull it out with little effort by unscrewing them from the hub. Over time, the rust may have jammed the rotor and could be a tricky task pulling it out. When you do remove it, make sure you apply rust preventer on the hub and studs, before swapping in the new one.
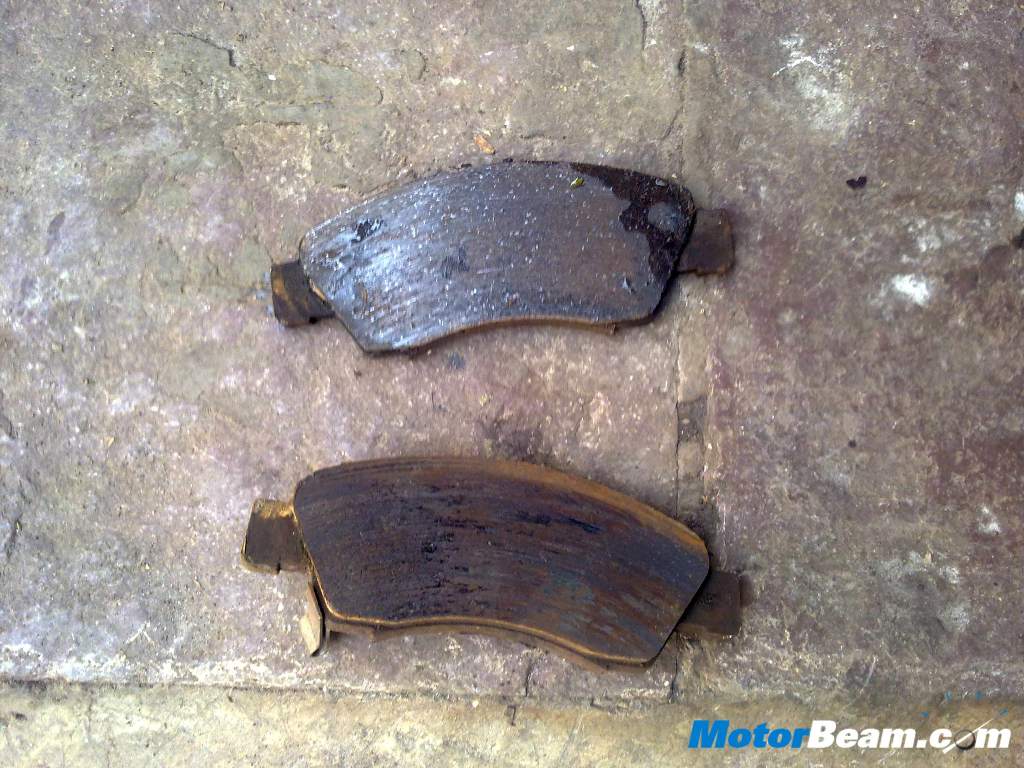
Step 9 – Lubricate the new pads
A new set of brake pads will cost you anything between Rs. 500/- to Rs. 1000/- depending upon your vehicle. Your new brake pads will come with a lubricant that needs to be applied at the back of the pad. Make sure you cover the outer clips when lubricating the pads. Do not lubricate the pad material; you will only be wasting the brake pads as they will provide no friction after lubrication.
Step 10 – Install the new brake pads
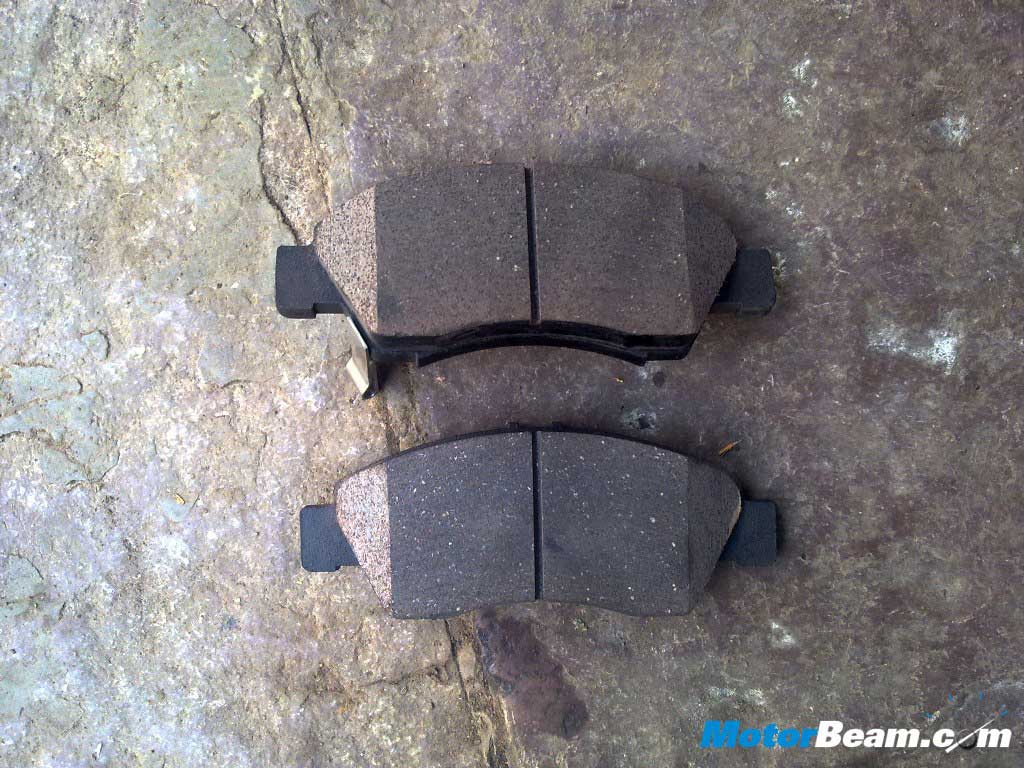
Once you have lubricated the outer and inner brake pads it is time to fit them inside the caliper. The outer brake pad has the clip on it which makes the noise to warn you, when the pad needs a replacement. You will also get a set of new clips to fit on the caliper. Replace the clips before installing the new pads. Once done, take the new brake pad, place it in the caliper and push in place. If the piston has been pushed back enough, the new brake pads will easily slide in their position, otherwise you will have to push the piston further.
Step 11 – Install the new rotor
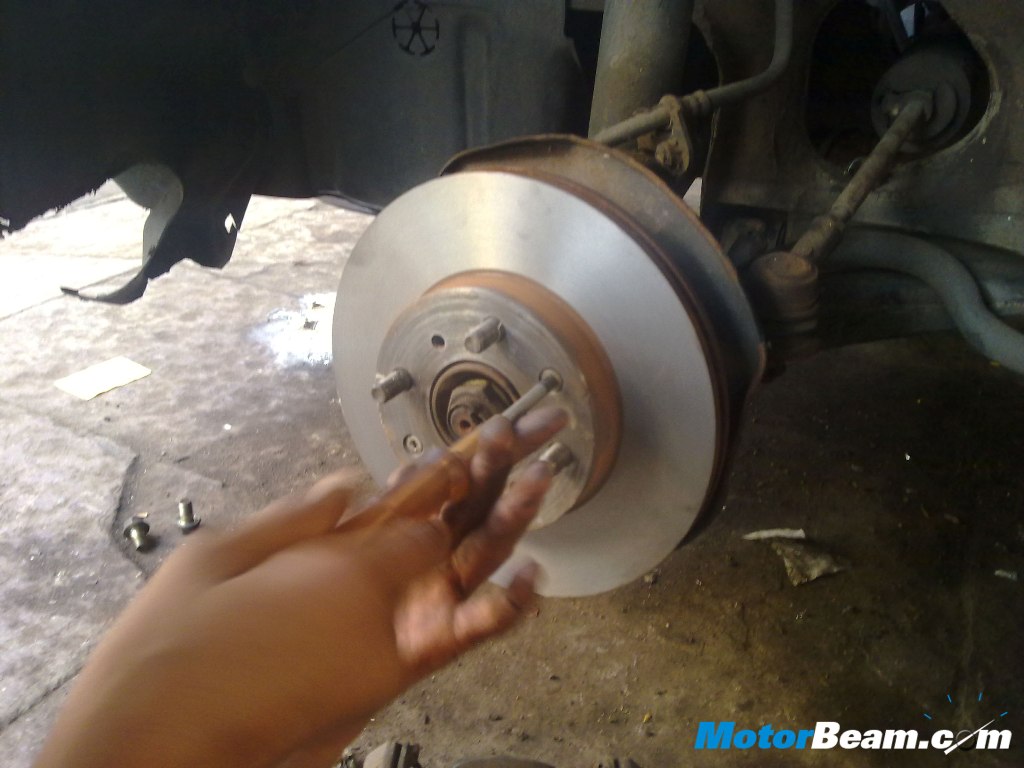
Push the new rotor inside the hub by aligning them with the wheel studs.
Step 12 – Bolt the caliper to the rotor
The caliper should easily fit back on the new rotor. It is better to hit it with a mallet to secure its location on to the rotor. The caliper should be aligned with the holes for the slider bolts. Now screw back the rotor to the hub and secure it tightly. The slider bolts will be screwed back in the reverse of order how you removed them. The top bolt will be screwed in first followed by the one at the bottom. Your new brake pads and rotor have now been fixed.
Step 13 – Mount the tyre back
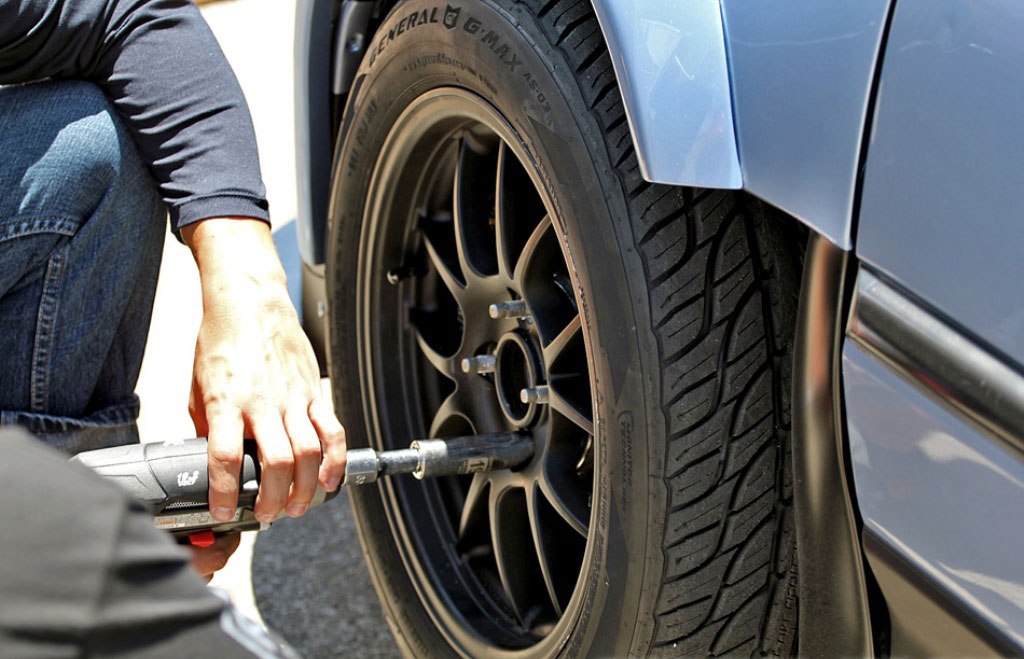
Now that you have replaced your brakes, it’s time to place the tyre back on and lower the car down, the same way you raised it. Remember to tighten the wheel nuts completely, after the car has been removed off the jack stand.
Step 14 – Pump the brake pedal
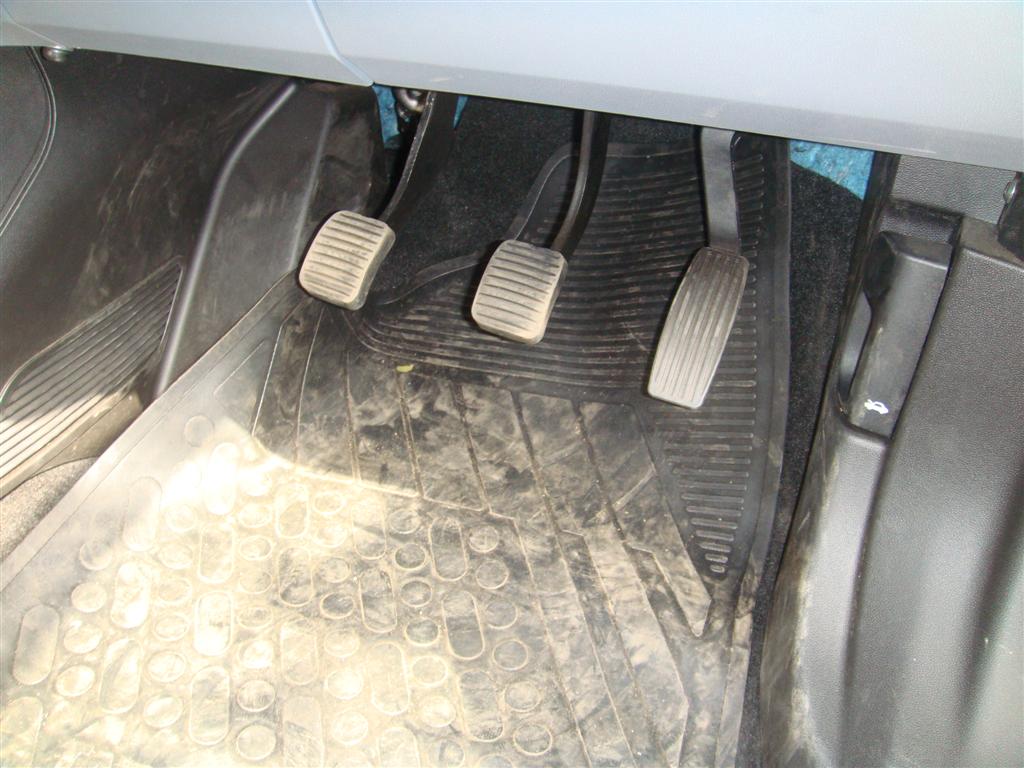
You will have to pump the brake pedal at least for 15 – 20 times to get the air out. You will see the brake pedal gradually tighten. Don’t forget to close brake fluid reservoir cap.
Step 15 – Take a test drive
The brakes will perform more efficiently now and you will immediately see a drastic change in the stopping distance your vehicle takes. Make sure you test the brakes at different speeds. If you feel there is something still wrong, come back and have a look, or seek the help of a professional if you cannot diagnose the issue. Sometimes, new brake pads will also make the squeaking sound, but will go with regular use.
Things to remember –
- Make sure to check the brake once or twice a year.
- Get the brake pads cleaned once a year, so that they perform better without you having to change them immediately.
- Top off the brake fluid level on your car, if needed. Keep a check on the fluid levels on a monthly basis.
- Refer to the owner’s manual to know the DOT rating brake fluid for your car.
- Make sure you change the brake pads and rotors on both the sides to ensure even brake wear and tear. Otherwise, the difference will show up when you begin driving, which isn’t particularly pleasant.