It is very important have your car waxed on a regular basis. Not only does it add to the shine of your car but also increases the life of your paint. A lot of people say that it also decreases the air drag on the car making it more fuel efficient. For those who enjoy their holiday mornings looking after their car, waxing is a fun job that involves greater rewards for the smooth and the patient.
So if you are planning to have your car waxed, read along and you will learn how to do it at home. We explain you how to wax your car at home in four steps.
Things you will need –
1. New Wax (liquid or paste)
2. Microfiber towel
3. Cotton swabs
Step 1 – Wash And Dry The Car Completely
Before you begin the process of waxing your car, you need to make sure that the car has been completely washed and dried off. Make sure there are no particles remaining on the car. Refer to our complete guide on how to wash your car like a professional at home. It is better to take up the waxing process in a garage or in a shaded place that is relatively cooler. Avoid direct sunlight as much as possible.
Step 2 – Applying Wax
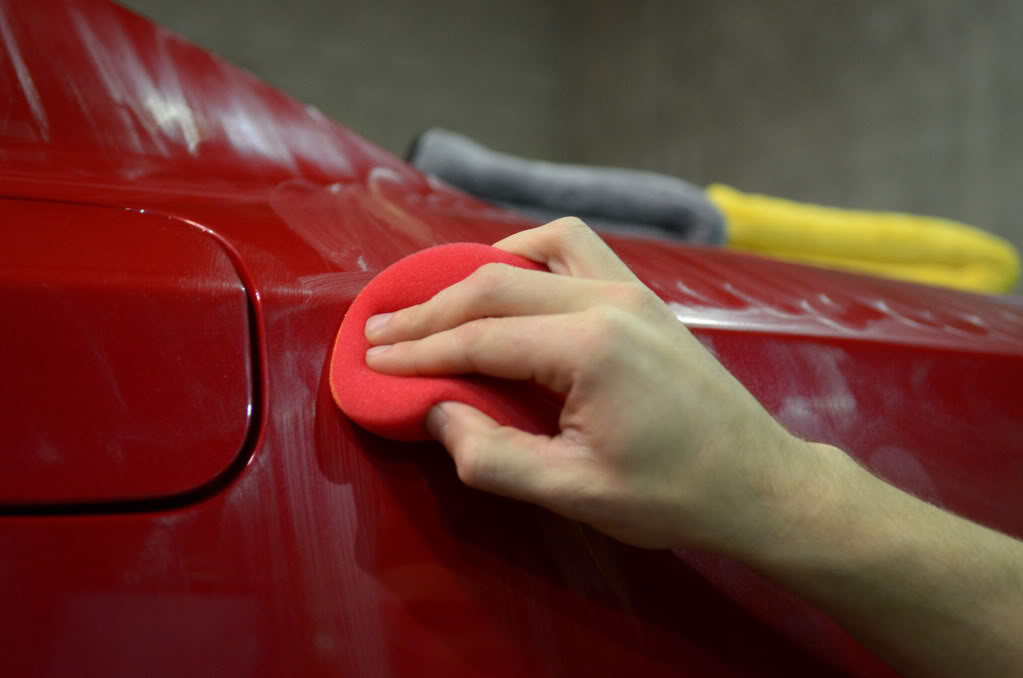
After a complete wash your car is ready for wax. Purchase a wax that is appropriate for your car and paint. Look for good and reputable brands, avoid the Chinese wax products. Using a microfiber cloth, apply a small quantity of wax as prescribed by the manufacturer on the car. Now remember for all those who told you to apply wax in the circular motion, they are wrong. It is assumed to replicate the actions of polisher but instead will leave swirl marks on your car in the end.
Apply the wax in front and back motion or create a ‘Z; motion with your hand on the car. The idea is to make sure that the wax effectively covers every part of the car evenly. Apply light yet firm pressure on the applicator with 3 – 5 passes on each location for effective spread of the wax. The best way to apply wax is to divide the space into small sections on each panel. So if you begin with the bonnet, do one side of the bonnet first and then move on to the other, before you go to the other panels. Once you have applied the wax, wait for 5 – 10 minutes. Make sure you use only the prescribed amount of wax and do not waste more than necessary. You will get a dull hazy look on the wax once it has dried.
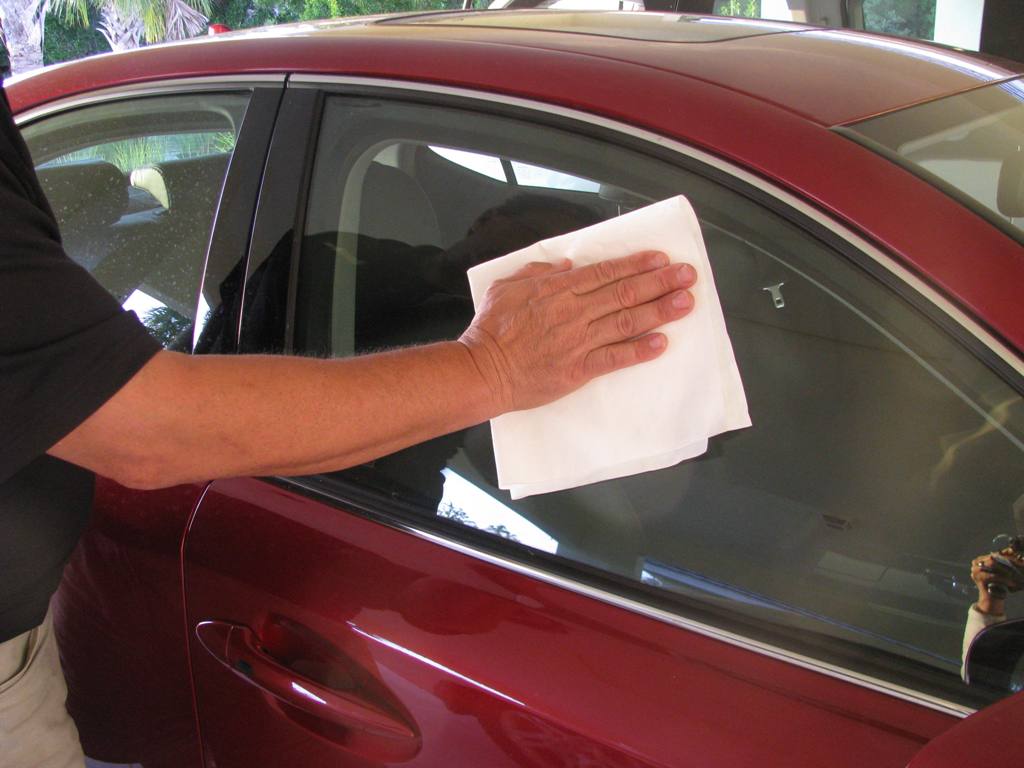
Step 3 – Removing The Excess Wax
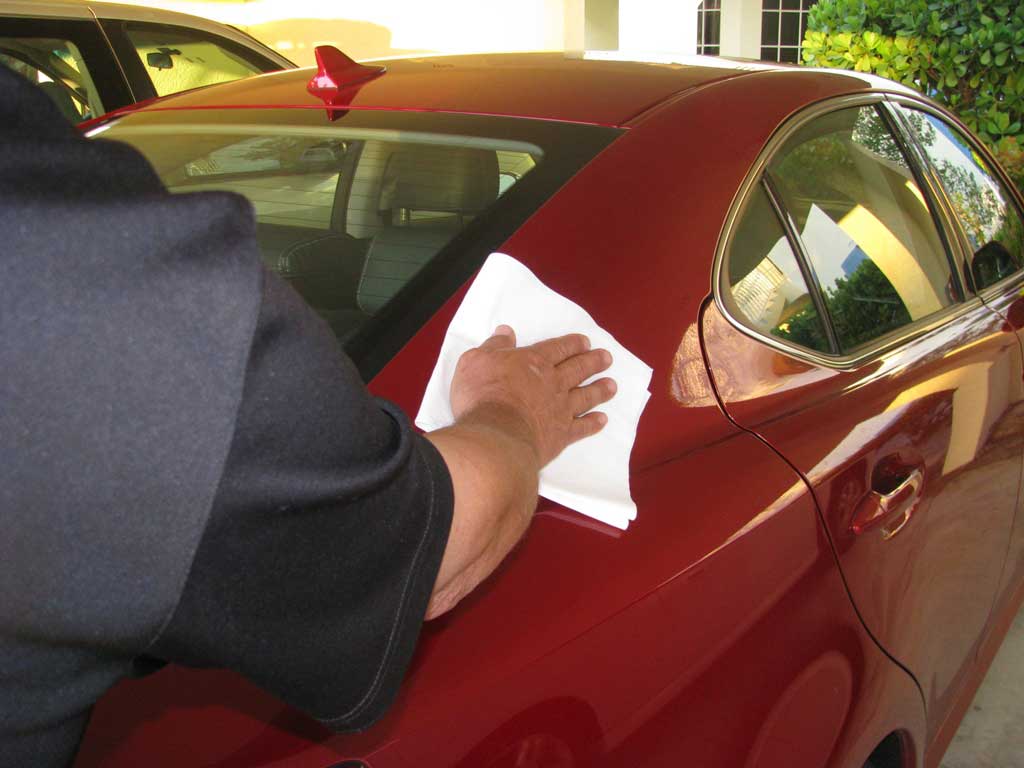
For removing the wax, place your bets on using high quality microfiber towels. Just wipe the surface area clean in front and back motion. No need for rubbing or buffing hard. Apply even and mild pressure on the towel, keep it steady throughout the removal process. To make the most of your microfiber towel, which are expensive; fold them into four parts when you are removing the wax. The first part will take off the excess wax from the surface, leaving the other parts to buff to a high shine. If the towel starts to drag, it’s time to change sides. Carry forward the same process on the entire car.
Step 4 – The Shine
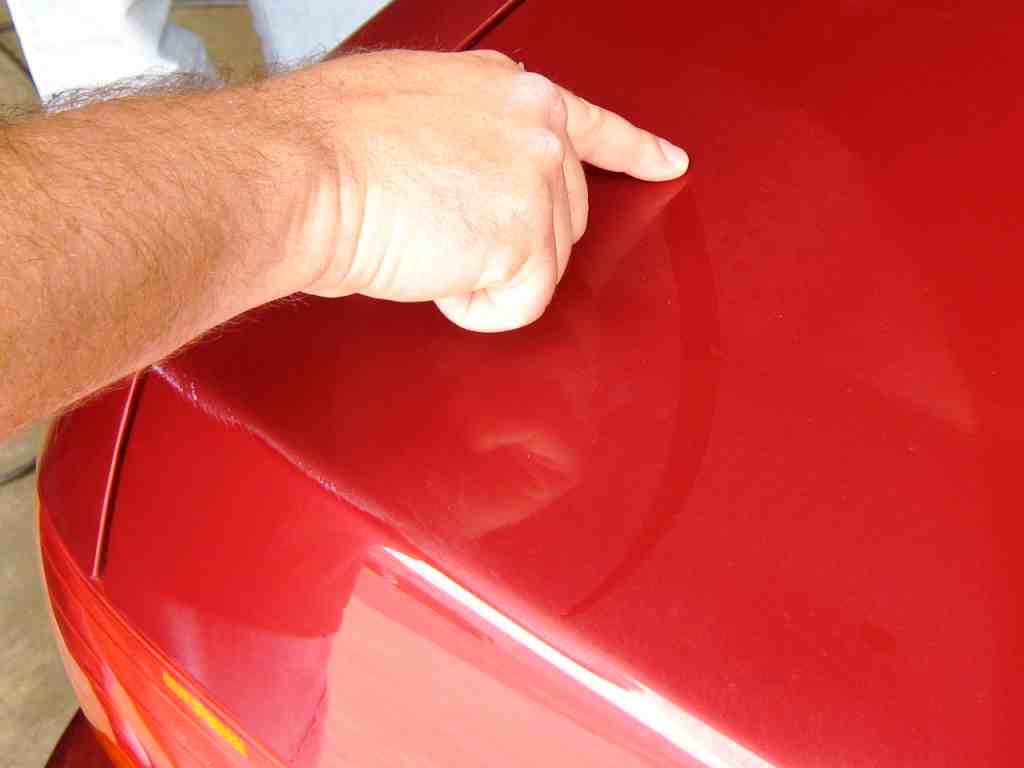
Once the excess wax has been removed, you will feel the surface to be real slick and shiny and smooth. Run your finger through the car and you can actually feel the smoothness of the wax. Just wipe the car for the last time with the microfiber towel in the end, once all the wax has been removed. To ensure the detailing is complete, remove the excess wax using a cotton swab from the crevices of the car. Remember excess usage of wax makes it equally difficult to remove. What should be remaining on the car is a thin layer of clear coat wax that protects your car’s paint from scratches, acid rain, blemishes and much more.
Remember –
1. Never get wax on black plastic, or any plastic for that matter, it will leave stains. Be careful around doors and rubber lining. Use a masking tape if you have shaky hands.
2. To complete the process and detailing, it is best to use a rubber protect-ant in the end, which adds shine to the rubber and vinyl or black areas around the window glass of the door.
3. If you have not waxed your car in a long time, it is better to have your car clayed first and then do a completely new wax job.
4. You could opt for carnauba wax, which is the most expensive and the most reliable of the lot. However other wax compounds can be equally effective and will last 6 – 8 months.
5. Use a mild car washing shampoo when washing the car next after a wax job.
6. A shampoo and wax cleaner is also available to keep the wax up-to-date in between proper wax jobs.